How to Add SSL To WordPress: 7 Easy Steps
Over the last two years, Google has hinted at warning Chrome browser users when they click on a website that’s non-HTTPS.
Recently, Google formally announced that it would start alerting Chrome users when they click on a non-HTTPS website beginning in early July.
For those business owners who have already installed an SSL Certificate on their WordPress sites, this news did not upset the apple cart all too much.
However, for those business owners who have mostly shrugged off Google’s warnings, this new formal announcement is not to be taken lightly.
Google now has the attention of all business owners in regards to the importance of having an SSL, or Secure Socket Layer Certificate installed.
The good news is that while some of the rhetoric involved with HTTPS is technical jargon, the act of moving a WordPress site from HTTP to HTTPS is simple.
Let’s learn how to make a Wordpress site secure.
The Google SSL HTTPS / Secure Socket Layer Logic
If you have yet to heed Google’s warnings to use an SSL Certificate, you might be asking why the heck they are so pushy over the matter.
The fact is, HTTPS upgrades the security for the web surfer. Google is not attempting to inconvenience site owners. Instead, Google wants to create a safer web surfing environment for all people.
For that to happen, site owners must take the helm and install SSL Certificates on their WordPress sites. Google is no longer asking any site owner to turn on HTTPS as a matter of good faith; rather, they are throwing down the gauntlet and saying, “no more poor security.”
What Is SSL and HTTPS?
SSL is a security certificate that is installed on the website that essentially renders the site to the HTTPS protocol. The terms HTTPS and SSL are often used interchangeably on the web, even if slightly inappropriately.
In simple terms, an SSL Certificate is installed on a website.
Let’s use HTTP://www.seoexpertbrad.com as an example URL. Once an SSL Certificate is installed on SEOExpertBrad.com and the technical work is accomplished to change out the URLs, SEOExpertBrad will now be both HTTPS://seoexpertbrad.com and HTTPS://www.seoexpertbrad.com.
This site has a valid SSL Certificate, so the HTTPS protocol is live.
When a website, such as this one, is on the HTTPS protocol, all data typed into forms located on that website will be encrypted through Google’s Chrome browser.
If a site has a credit card form on it, when the consumer types in their CC information, that form will become encrypted so long as the website hosting the CC form is on the HTTPS protocol.
Why does this matter?
When a consumer types data into a form on a website, hackers can, through a number of nefarious means, steal that information.
On sites that have HTTPS protocol enacted, the data is encrypted, rendering it useless for hackers.
HTTPS, by default of its ability to encrypt data on Chrome, makes these sites less attractive to hackers.
There is a downside to HTTPS, one that I am quite confident Google is working on fixing. I call it a false sense of security.
Because secure sites are recognized by consumers as safer experiences, hackers are savvily setting up their phishing schemes on HTTPS sites.
As a web surfer, it is essential to pay attention whenever you are putting personal information into any website form.
Google’s change is not a “leaps and bounds” sort of groundbreaking endeavour. The fact is, Google Chrome already displays a site’s SSL status inside of the URL. It does so by displaying a green padlock next to the words, “SECURE.”
Here’s an example of what a Google Chrome user sees when they visit a site with an active SSL Certificate.
How To Migrate your WordPress Site To HTTPS
Now it is time to get down and dirty and move that red-headed stepchild of a site of yours to a more secure, less scary, HTTPS protocol. Your green padlock awaits if you follow the below simple steps.
It is always important to remember that whenever you make any changes to your website, things can go wrong.
The most pervasive risk is that of losing website data.
Most website hosting companies have an option to run daily or weekly backups.
Or you can consider using one of the many WordPress plugins that allow for remote backups.
In any case, back your site up before attempting to install an SSL Certificate.
Wordpress Step by Step SSL and HTTPS Tutorial
First, you need to understand that HTTPS is a URL change that affects the entire site.
If you do not change your WordPress site settings, the newly enacted HTTPS will not function correctly.
There is an incredibly easy and straightforward way to mass update your site so that it naturally converts to SSL.
Beyond securing your data through backups, the onus for converting your site to HTTPS now depends on your host.
1. Obtain a SSL Certificate
Most website hosts will give you an easy option to install an SSL Certificate.
For example, GoDaddy dedicated hosting clients can login to their hosting management interface and purchase the SSL Certificate for $74.99 (annually).
Another way to install an SSL Certificate is through the free service, LetsEncrypt.com.
They are free. However, they do accept donations.
The good news about Let’s Encrypt is that one of their sponsors is Google Chrome, which qualifies Let’s Encrypt as a legitimate and safe service for SSL Certificates.
Unlike the case I cited regarding GoDaddy, Let’s Encrypt SSL certificates are free.
The bad news is that many web hosts, notably shared hosting services, don’t technically work with the service.
If your host does accept Let’s Encrypt certificates, you can use these easy to follow installation instructions, and you should be all set.
2. Edit WordPress Config
You will need to begin by adding a simple line into your wp-config.php file. When you open this file, there will be a line that reads, That is All, Stop Editing! You will need to add the following line BEFORE that notation.
define(‘FORCE_SSL_ADMIN’, true);
Now, go to your site’s admin using HTTPS, rather than the legacy HTTP protocol. This will be accomplished (most likely) by typing in https://yourdomain.com/wp-admin/
If the site resolves and you see the padlock, go ahead and login to your Admin. Once logged in, confirm the SSL padlock remains.
Now, your admin section is using the SSL protocol. This will help secure your admin from phishing attempts. Phishing attempts are prevalent on WordPress admin login forms because they offer a hacker credentials that access the site’s administrative portion.
3. Change Admin Settings
Now that the WordPress admin is functioning on HTTPS, it is time to apply the change on a global level. This part’s easy as pie.
In your admin, under Settings, click GENERAL. Now, replace the HTTP with HTTPS in both instances of your WordPress Address (URL) and Site Address (URL).
See below:
That was easy (just like I said), but don’t celebrate just yet, there are a few more simple changes to make.
4. Update Global Links Across The WordPress Site to HTTPS
This is the part of converting a WordPress site to HTTPS that causes you to realize how many instances of HTTP really exist on your site.
Any audio or video files, pictures, iFrames, web fonts, Javascript, CSS, and internal linking structures, have all been affected by this significant change.
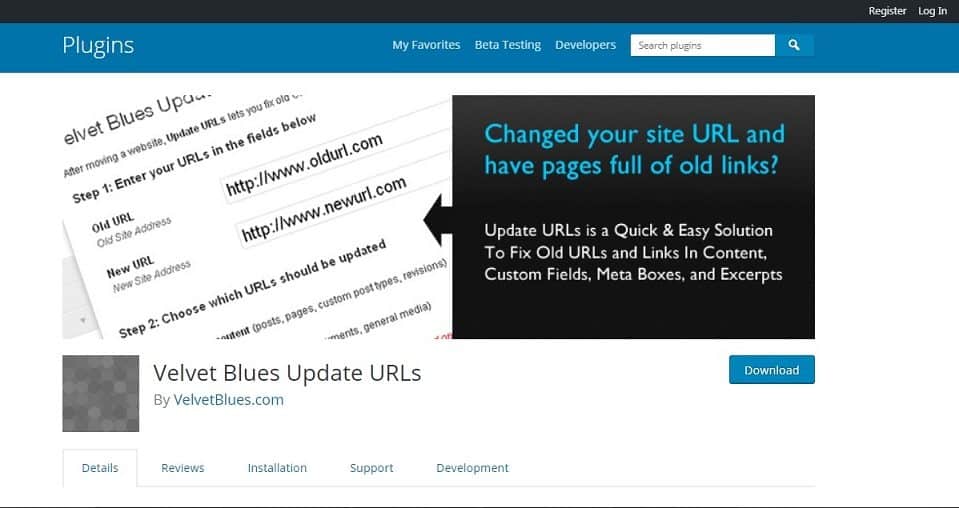
Here are two plugins that may offer some help in the matter: Velvet Blues | Search and Replace

You will want to run a massive search and replace.
Now, it is important to understand; this is the point where if things are going to go wrong, they will. Fear not, however, because you wisely backed your site up. If a massive scale URL replacement script breaks the site, you can restore the site back to its old self.
5. 301 Redirect Old HTTP Pages and Links
You cannot exactly go ask every site that uses your link to update their URLs, and some traffic may be serving cached versions of your old URL protocol.
Because of this, use a 301 redirect to deal with these instances and assure that they end up on the HTTPS version.
You will need to access your FTP. Turn your FTP on to “display hidden files.” Open the file titled, .htaccess. If you do not have one, create a notepad (plain text) file by the same name and upload it to the root directory in the WordPress/ folder.
You need to make an addition to the file. That is as follows:
RewriteEngine On
RewriteCond %{HTTPS} off
RewriteRule ^(.*)$ https://%{HTTP_HOST}%{REQUEST_URI} [L,R=301]
Click SAVE.
And just like that, the world wide web is going to respect your site as HTTPS enabled.
Now, before you celebrate, go ahead and test your SSL by inputting your URL into SSL Labs (here). This will verify that your site is. Indeed, SSL enabled.
Now, the next steps are done as a way to make sure your SEO and Analytics continue to be tracked in webmaster tools.
Relax, it’s just a few easy steps to accomplish, and then you are good to go.
6. Run your final checks
Create A New Site in Webmaster Tools
Do not merely attempt to update your old Webmaster Tools site properties; you need to create a new HTTPS version of your site.
You should also upload a brand new sitemap that reflects your SSL change.
Update Google Analytics
Go to your Google Analytics property. Then access the ADMIN, on to Property Settings, then check out the Default URL.
You will need to update that according to the new HTTPS. Your analytics might act a little funky following the change, but don’t sweat it. Google Analytics just needs time to refresh itself.
Check SEO Yoast Or Other SEO Plugins
Make sure SEO Yoast reflects the SSL update. Some site owners have said they needed to deactivate and then reactivate SEO Yoast for it to reflect the change.
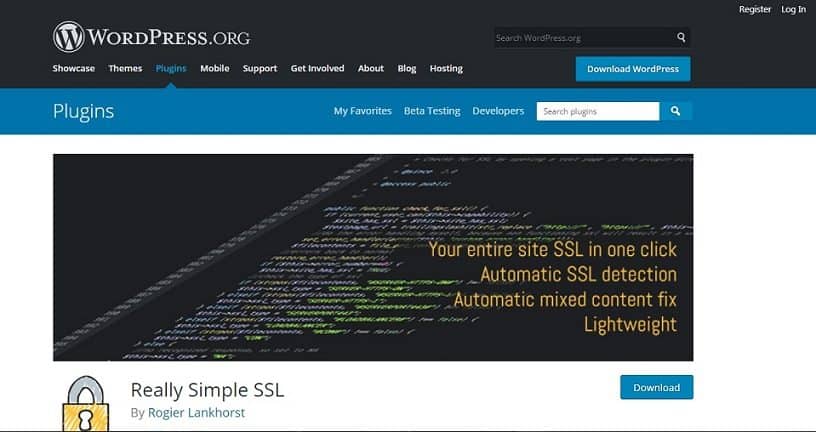
7. Alternative Option, Use an SSL Plugin
You can use the SSL WordPress plugin.

I have used this plugin on multiple sites, and I cannot say enough good things about it.
You might be wondering if converting a WordPress site to Secure Socket Layer is as simple as using a plugin, what’s the need for the more technical instructions?
The truth is, absolutely nothing.
For some site owners, they already have reached their plugin capacity regarding site speed, or they do not trust new plugins for security reasons, so they opt not to use one.
There is no doubt that manually converting your WordPress site to SSL is better practice than using an additional plugin.
Additionally, some plugins just don’t play well with some websites or server configurations.
If Really Simple SSL fails, and you are still unsure, I suggest contacting your web hosting company.
Now you know how to add SSL to WordPress
Ok, that was not very fun, but I am sure it was fulfilling seeing that you no longer have to worry about Google Chrome turning your site into a bad neighborhood that people are afraid to enter.
Moving your WordPress site to HTTPS means adding security, trust, and legitimacy.
While Google does not blatantly say that SSL helps SEO, many site owners have remarked that instituting the security upgrades correlated with increased rankings.
You are going to have to do it at some point, now is as good of a time as any.
Now you know how to add SSL to WordPress. The next step is to check out my article on the best WordPress SEO plugins.


